ClearQuest Dynamic List Editor ManualSetup
ClearQuest Dynamic List Editor
Contents
Manual Setup of a ClearQuest Schema
It is highly recommended to test the procedure in your development environment, and backup master and user databases before you start.
Schema Integration
The schema integration, "Dynamic_List_Editor.txt", is locate in the "data" folder of the installation directory. It is a text file that can be easily scanned or inspected.
Apply Integration to ClearQuest Schema
- Verify that the ClearQuest schema is checked in, and that there are no pending schema changes that have not been applied to the user database.
- Open the command line tool, (Start->Run "cmd") and change the directory to the location where the integration package was extracted.
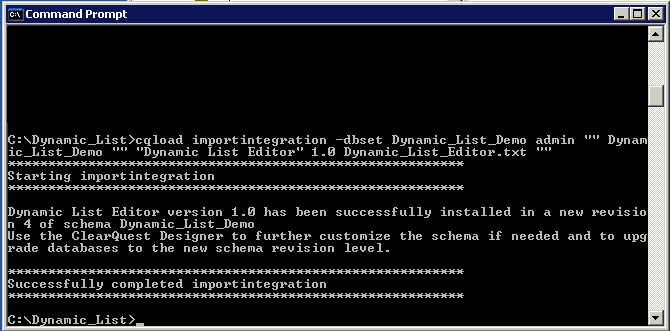
- Import integration using the "cqload importintegration" command. For example:
cqload importintegration -dbset <db_connection_name> <admin_user> <admin_password> <ClearQuest_Schema_Name> "" "Dynamic List Editor" 1.0 Dynamic_List_Editor.txt ""
- Verify that the schema update was imported and no issues were detected.
Upgrade User Database
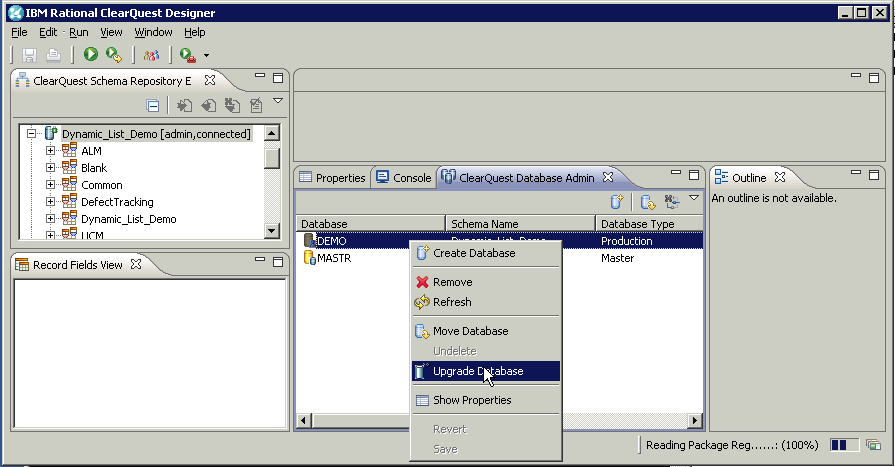
Now, you can apply changes to the user database using ClearQuest Designer. For Eclipse Designer, in the ClearQuest Database Admin section, right click on the user database that you are going to apply changes to, and select "Upgrade Database" from the context menu. (In legacy Windows Designer, select the "Upgrade Database..." option from the database menu and select your user database).
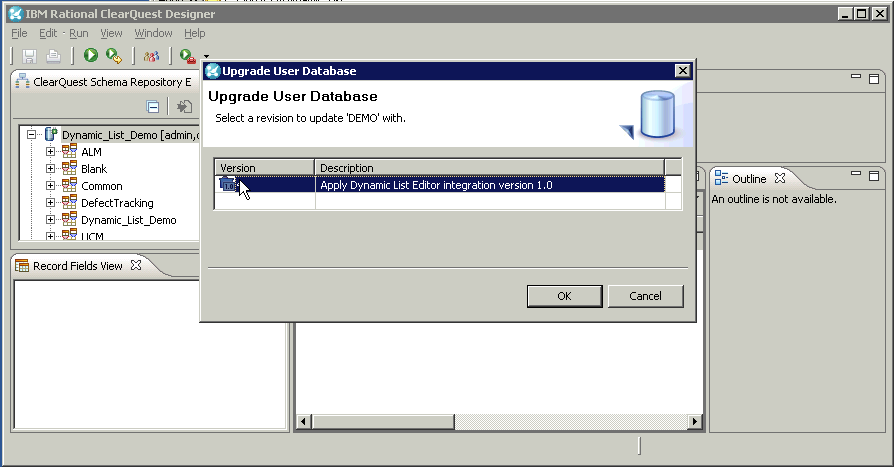
Apply the change that you imported on the previous step by clicking the "OK" button. Verify that user database was upgraded successfully.
Import First Dynamic List
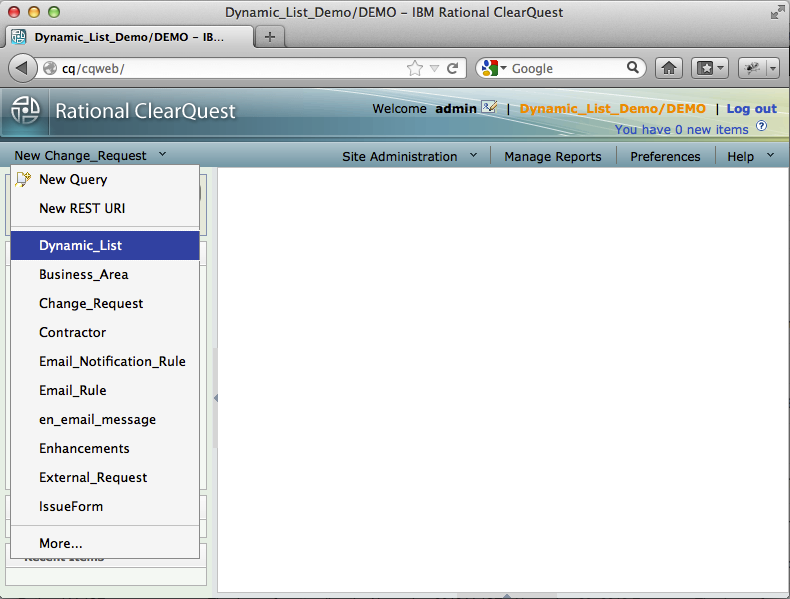
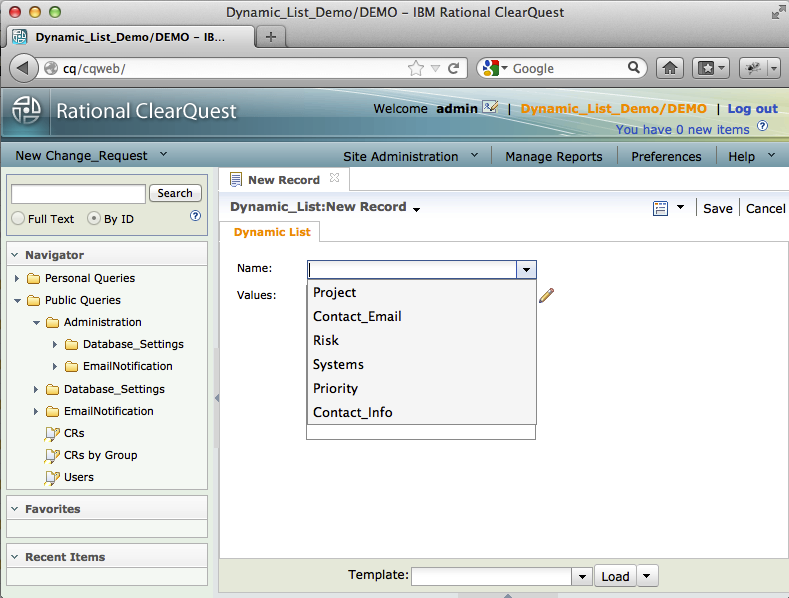
The rest of the configuration can be completed from a ClearQuest client. You can use any client of your choice. The instructions are based on ClearQuest Web client, version 8.0. Login as an administrator (super user), and submit a new record of the "Dynamic_List" type:
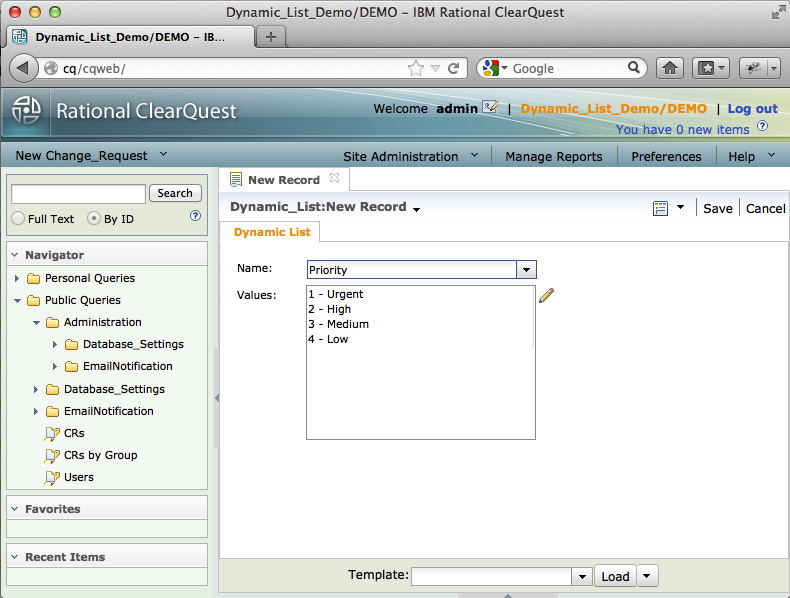
Select one of the list names from the "Name" drop-down list.
Dynamic list values will be populated automatically.
click "Save" to commit the record to the database
Creating Dynamic List Administration Query
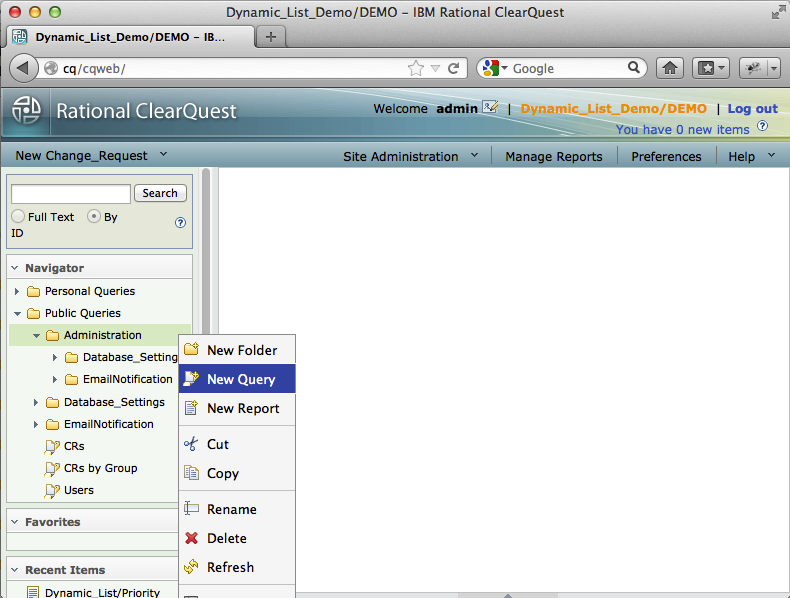
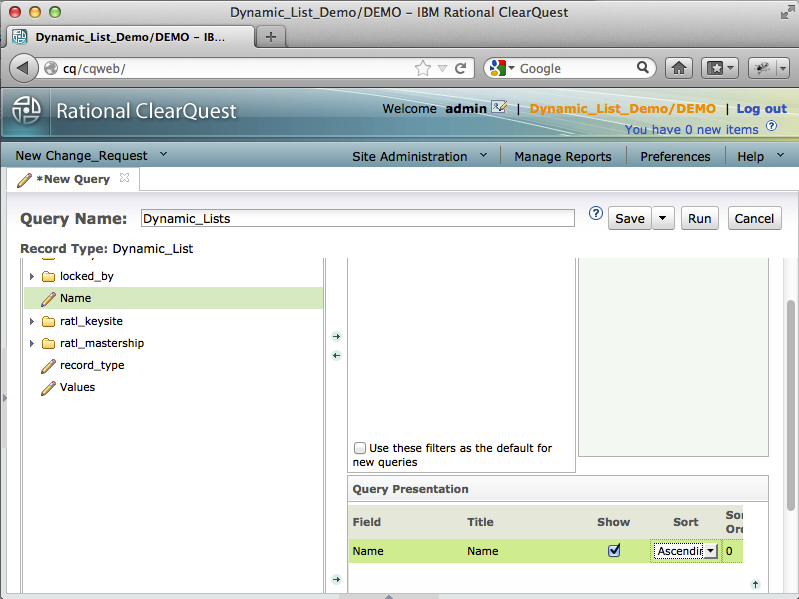
Now, you will need to create a simple query that will be used by Dynamic Lists administrators. Right click on the folder you are going to save the query to, and select "New Query" from the context menu.
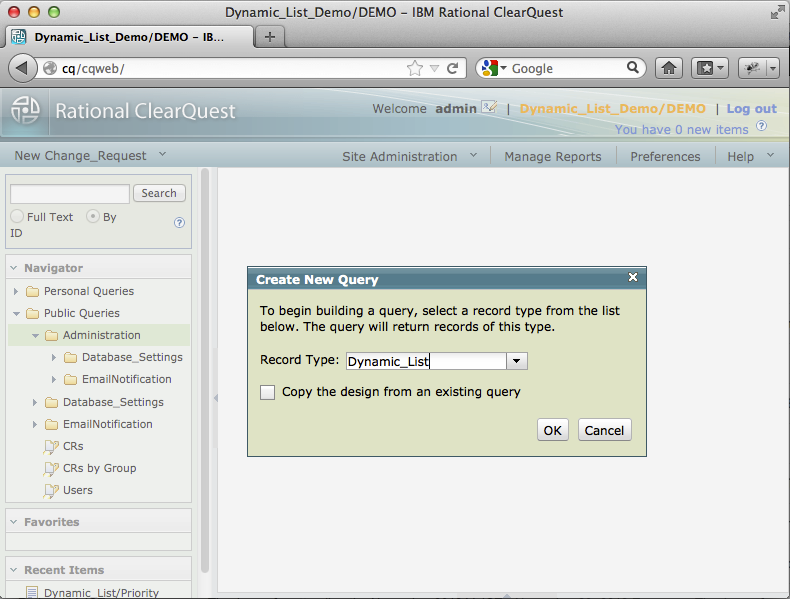
Select "Dynamic_Query" as a record type
Provide a query name (for instance, "Dynamic Lists"), add the "Name" field to the presentation/display section, and specify the "Ascending" (A-Z) sort order. Save the query.
Importing Dynamic Lists
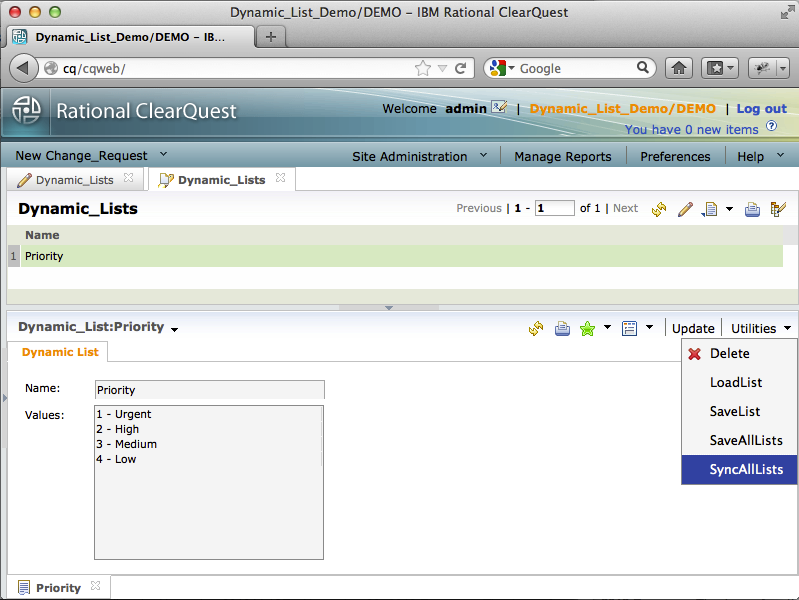
Run the "Dynamic Lists" query that we created on the previous step. You should see one Dynamic List record in the result set. Select the record, and in the "Utilities" section, chose the "SyncAllLists" action.
The action syncs ClearQuest records with the correspondent dynamic lists:
- when the ClearQuest record already exists, its content is updated from the dynamic list
- when the ClearQuest record does not exist, a new record is created
- when a dynamic list for the existing ClearQuest record does not exist, the record is deleted.
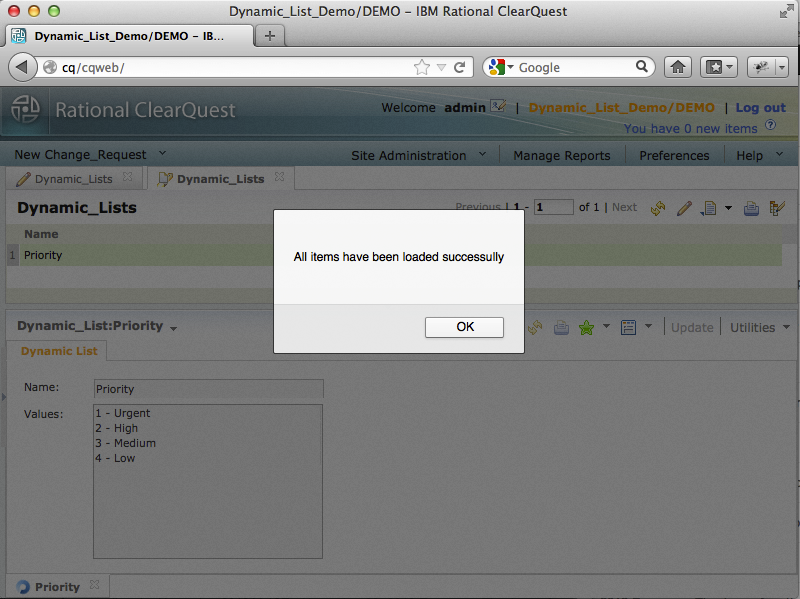
If no error occurred, a confirmation is displayed. Otherwise, you would see an error message.
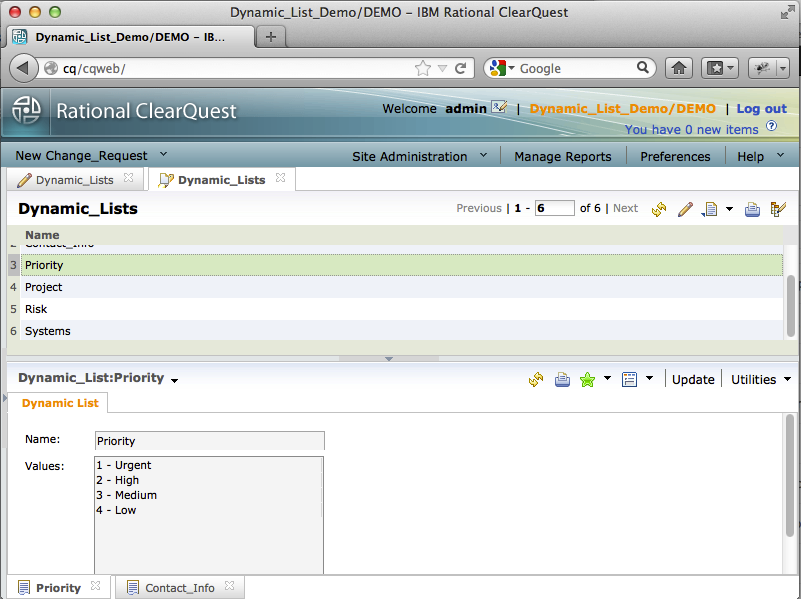
Refresh the query to verify that all dynamic lists with their proper content are loaded.
Support
- ClearQuest Dynamic List Editor is supported by CQAdmin, inc. Three levels or support agreement are currently offered, starting with free community support at http://forum.cqadmin.org. Consulting services are also available.
